These are the supplies and tools you will need to complete the project:
1. Drill
2. Pencil
3. Measuring Tape
4. Straight Edge
5. Utility Knife
6. Staple Gun
7. Screwdriver
8. Circular Saw
9. 2" Wood Screws
10. 30" X 80" hollow door
11. 12" x 30" x 1/2" piece of wood
12. King size foam bed pad (makes two baffles)
All of these items, with the exception of the foam bed pad, can be purchased at your local hardware store. I purchased the bed pad from a Bed Bath & Beyond outlet.
Start by measuring and cutting the baseboard of the baffling. Measure the width of the 12" x 30" x 1/2" wood and make pencil marks at both the 5 3/8" and 7 5/8" locations. Trace a straight line along the length of the board at both the 5 3/8" and 7 5/8" locations using the straight edge. Between these lines is where you will position the hollow door before fastening it to the baseboard. On the other side of the board, using the straight edge once again, mark a straight line along the length of the board at 6". This is your reference point when fastening the base to the door with the 2" wood screws.
Second, cut angles at all four of the base's corners. This is done to allow multiple baffles to create isolation areas (vocal booths etc.). Measure 3" down the length of the baseboard from the top. Mark this measurement with your pencil. From both the 5 3/8" and 7 5/8" marks, trace a line with the straight edge connecting the 3" mark to the appropriate 5 3/8" or 7 5/8" mark. Cut along each of the diagonal lines using the circular saw, leaving what appears to be almost a 45 degree angle on all of the edges. The finished baseboard should appear similar to the base in the photo below.
Third, fasten the base to the door by drilling 8 pilot holes along the bottom of the baseboard. Fasten the baseboard to the bottom edge of the hollow door with the 2" wood screws. You should now have what appears to be a free standing door, like the photo above.
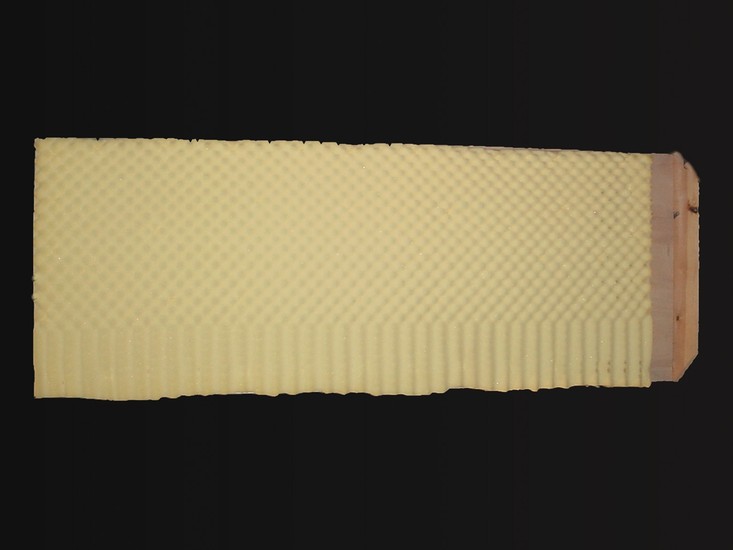
Last, but certainly not least, staple the foam padding squarely on one side of the door. Remove the excess foam padding with the utility knife.
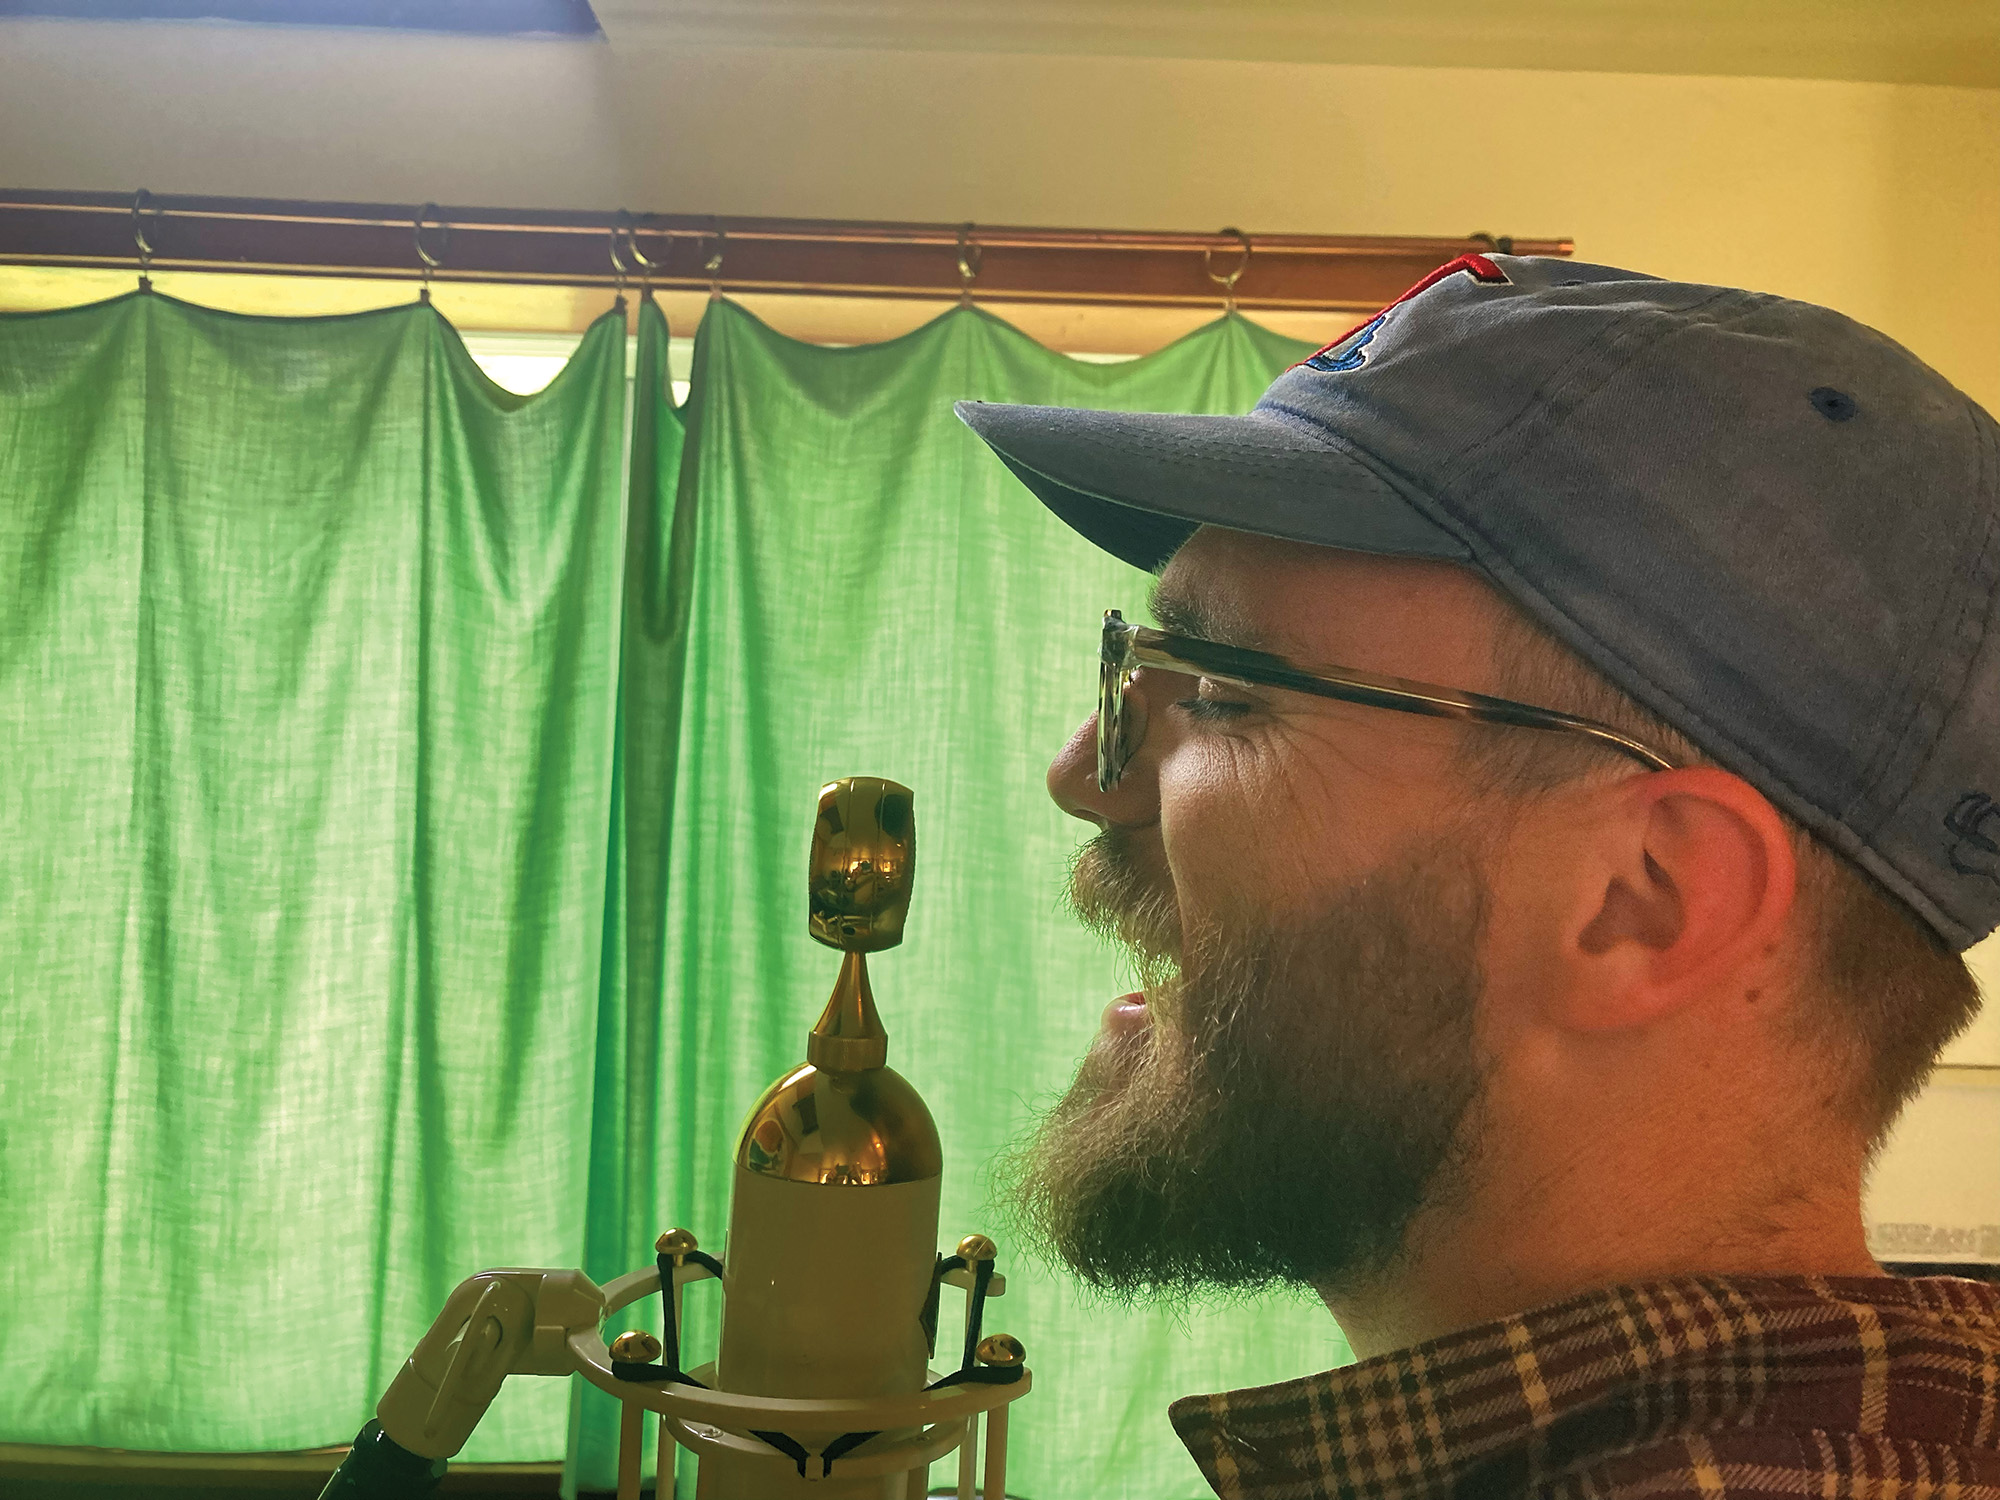
I have found many useful ways to use the four baffles that I have constructed. The first and foremost idea is that I use the acoustic baffling to create an isolation area for recording vocalists and acoustic instruments. I simply create a semi-circle around the performer and microphone with the four baffles. Utilizing the foam side of the baffle, the semi-circle creates an acoustic dead space. This is beneficial when your recording surrounding is not ideal. If you decide to use the other side of the baffle you will achieve a slightly brighter and reflective sound. This effect can be useful when you are recording acoustic instruments.
When recording drums I use the foam side of the acoustic baffling as a bass trap. I place one or two of the baffles directly in front of the kick drum, effectively diminishing overwhelming bass frequencies. While recording a jazz trio, the baffles serve as sound isolation between the drums and upright bass.
I have found that my acoustic baffling is best used for eliminating the effects of a bad recording environment as well as providing sound isolation. I was surprised to hear such improvement in my recordings since I started using these baffles. They sound crisp, clean and I don't have to deal with hanging comforters or rugs on my walls anymore! Plus, for under $40 a piece you can't go wrong!